Sunday, October 12, 2014

Under-Body Work

At this point, we still had a hole in the bow, curb-side of the underside.  It came like this and the best theory we have is that a previous owner must have forgotten to raise the front floor jack support when he took off, forcing it up into the underside of the unit.


Benny crawled underneath to install using rivets a new cover over the hole:


 He then removed all of the old floor jack supports:


Then it was time to hook up the generator and test the air-conditioning unit - worked beautifully!

Then he removed the old copper tubing for the gas line and replaced it with a brand new piece:


Copper tubing is an instrument, isn't it??


What's up, Dad?


Gaucho Renovation

The gaucho (front couch that converts to a bed) was, simply put, horrific.  

Here is the original gaucho:


We decided that recovering it ourselves would not be easy and we should spend the money to have professionals do that work.  It took a few days to shop upholsterers and fabrics, but we are very happy with the end result!


When we pulled out the gaucho, we noticed that the cabinets underneath needed to be replaced (trashed and recreated), the end sections of the gaucho which were that lovely brown corduroy fabric had water damage and needed replacing as well as the front facing piece.  

Here is a photo of the original cabinets' "floorboards":


Here is the recreation of the cabinets' "floorboards":


Here is one of the original end caps of the gaucho:


Here, we used a faux soft brown leather to replace the old brown corduroy fabric and batting:


The end caps connect to these trapezoid-shaped supports which set up at the end of each side of the gaucho and support the arm rests which we also had professionally re-covered.  The arm rests remove and you can store stuff in the ends of the gaucho.


Here Benny is finishing the support pieces and attaching the newly re-covered corner pieces:


NO Caulk - Seriously???

When we picked up this beauty from a dealer in South Carolina, we certainly knew it would be a project.  We did NOT realize we would have to RE-CAULK the ENTIRE 31' of her!  Yes, I spent the next week while the kids were at school and into the evenings removing remnant caulk and then replacing with Valkem 292 which was replaced by TremPro 626.  Darren shared a trick to smoothing the caulk bead snugly into the seams was to apply the caulk, then put a squirt of WD-40 on your rag-covered finger to smooth it in.  Brilliant!  68 hours, 7 tubes of TremPro 626 and 2 cans of WD-40 later, she was water-tight again!

Here are some photos of her seams before we started:


Then some of the seams as before and after I scraped them clean:


Tuesday, April 10, 2012

Wow...there's a bunch of windows!

[Note: all of the windows were completed prior to installing the new floors]

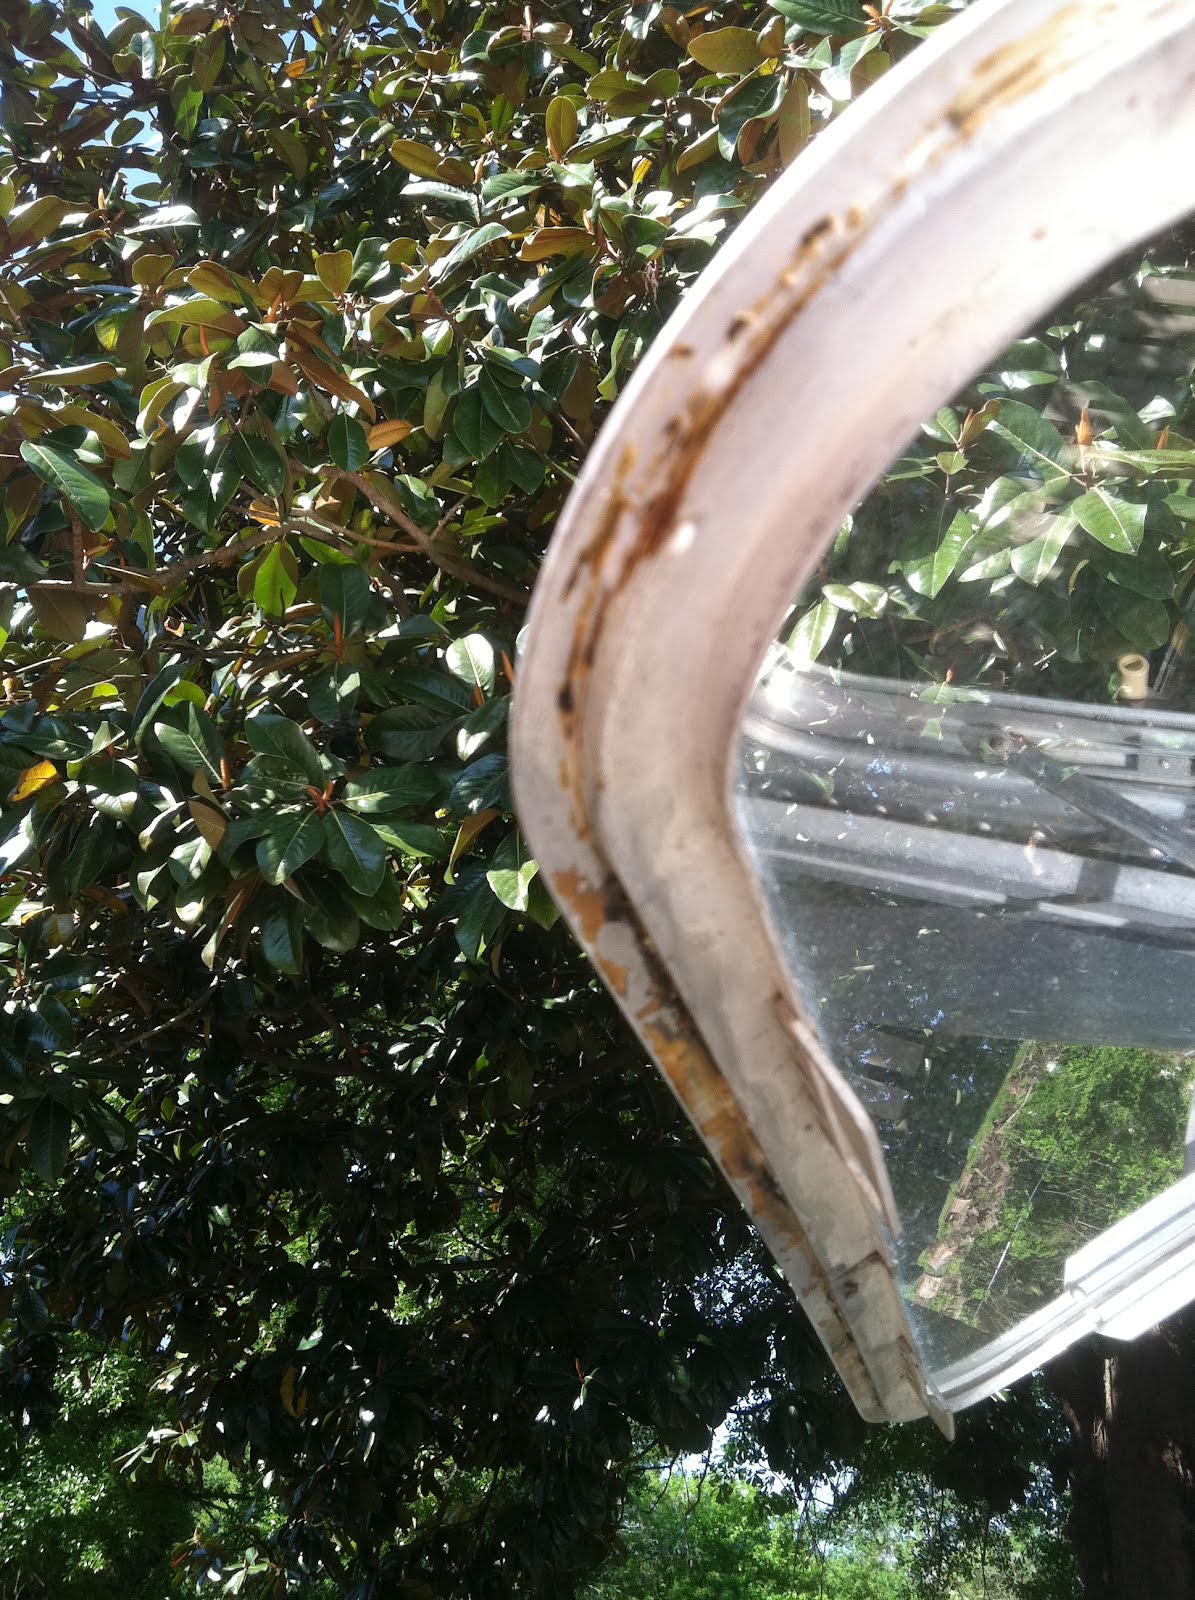
Having 9 windows, 8 of which are operable, presented quite the task when it came time to replace the baked on and cracking window seals/gaskets with new ones. We knew the rear window seal was leaking after several downpours in our driveway, so there was no choice as to replace or not to replace. I spent a whole Saturday removing the majority of the old seals on four of the windows, but the rock hard adhesive remained.

To do it correctly, all of the old adhesive would have to be removed. Together, we spent Sunday morning suffering through picking, chiseling, scraping and dremeling off old seals...upside down, backwards and twisted. I couldn't take it anymore, so I jumped on-line at www.airforums.com and found advice from others recommending Permatek Gasket Remover sold by auto parts stores. I bought out three different auto parts stores...there were only three 4oz. bottles to be had. It definitely made the work MUCH easier! Especially once we dropped the awnings and the sun quit evaporating the remover before we could get to it. Here are a few photos of this grueling task:

......

Squeaky Clean!!

Rain was headed our way so the new gaskets had to go on that day...even at 10:00 at night!

As you can see, the new gaskets fit snugly and are just what Llamaluminum needed!
......

Final touch on the windows was to replace all the screens. Joy. Airstream installed white screens with white spline originally on the roof vents and gray screen with white spline on the windows. No luck finding white screen or white spline, so we went with black on black for it all...at least they're clean and hole free!